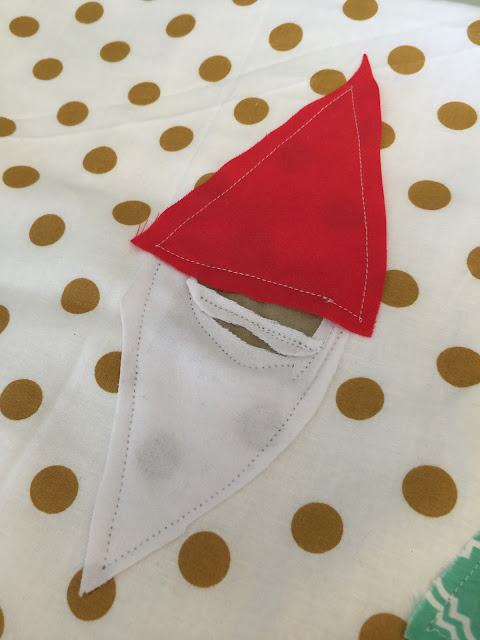
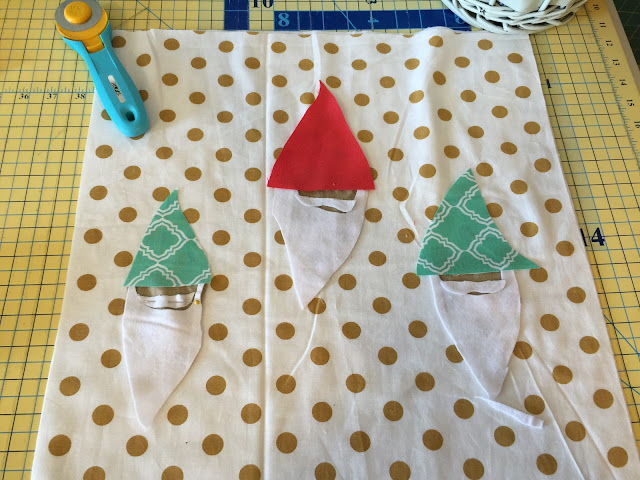
Today, I am here to share with you, during the Christmas break, a fun little pillow sham that works for both Christmas and through all of winter! I always love to keep out a few of my Christmas decorations, and this one is one that is great for the transition!
You can download the gnome pattern pieces HERE
Cutting out the pillow:
1. Cut out 1 piece of fabric measuring 17" wide by the width of fabric.
2. Cut that piece of fabric into 3 pieces. They will measure 17" square, and then two 12" by 17" pieces. The 12" pieces will be for you back envelope
3. Cut out all the gnome pattern pieces
Assembling your Ornament Christmas Pillow Sham
1. Follow along with the video to complete your pillow
OR
2. Top stitch all gnomes onto the pillow
5. Finish the edge of the fabric using your favorite method on both of
the 12" pieces for the back of your pillow (I used the sew, then roll
method)
6. Place both of the 12" pieces on the back of the pillow, making sure
to line up the corners of the front of the pillow with the back of the
pillow. Pin in place.
7. Sew around the pillow sham using a 3/8 Seam allowance. Make sure to
backstitch over the places where the envelope opening will be because
you will be putting extra pressure on these points when stuffing the
pillow sham with a pillow.
8. Trim the corners so that when you turn you will have nice and pretty corners
9. Turn right sides out and stuff with pillow and Enjoy!
If you want to watch how I finish the edges of my pillows check out this youtube video on a Christmas Ornament Pillow (seen in a couple of the pictures)
If you enjoyed this video and tutorial, make sure to share it on Facebook and Pinterest!
Also, make sure to join the Facebook Group to share your pictures and to ask any questions that you have!


No comments:
Post a Comment
I love hearing from you! Let me know what you think