How to Sew a Gnome Pillow Sham

Only a couple more days until 2016, I can't believe it!  No, seriously!  I can't believe it.  Wasn't it just yesterday that my little baby boy was born....ok really it was 15 months ago, but it should've been just yesterday!
How to Sew a Gnome Pillow Sham using FMA and Free Motion Quilting FMQ
Today, I am here to share with you, during the Christmas break, a fun little pillow sham that works for both Christmas and through all of winter!  I always love to keep out a few of my Christmas decorations, and this one is one that is great for the transition!
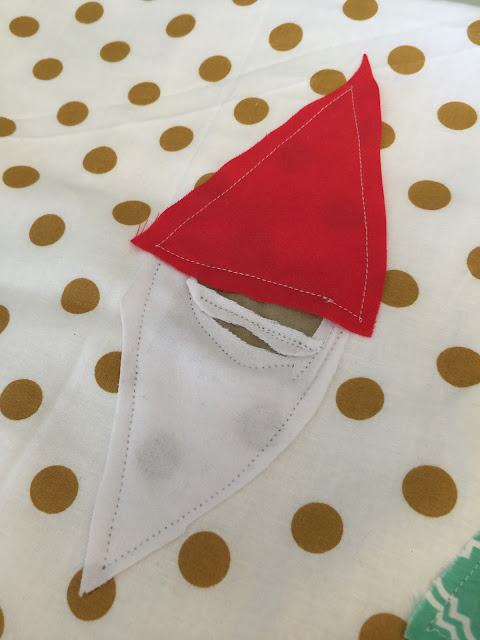
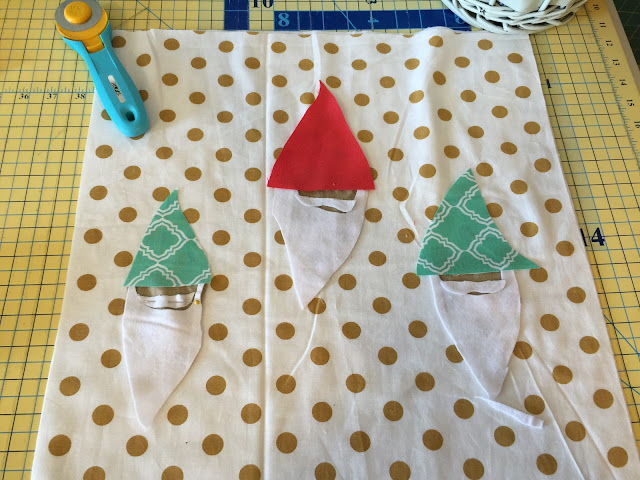
FMA Elf and Gnomes onto Fabric for Pillow Sham with a aqua hat
You can download the gnome pattern pieces HERE
FMA Elf and Gnomes onto Fabric for Pillow Sham

Cutting out the pillow:
1. Cut out 1 piece of fabric measuring 17" wide by the width of fabric.
2.  Cut that piece of fabric into 3 pieces.  They will measure 17" square, and then two 12" by 17" pieces.  The 12" pieces will be for you back envelope
3. Cut out all the gnome pattern pieces


Christmas Pillow Decorations Tutorial with Elf and Christmas Ornament FMA
Assembling your Ornament Christmas Pillow Sham
1. Follow along with the video to complete your pillow
OR
2. Top stitch all gnomes onto the pillow
5. Finish the edge of the fabric using your favorite method on both of the 12" pieces for the back of your pillow (I used the sew, then roll method)
6. Place both of the 12" pieces on the back of the pillow, making sure to line up the corners of the front of the pillow with the back of the pillow.  Pin in place.
7.  Sew around the pillow sham using a 3/8 Seam allowance.  Make sure to backstitch over the places where the envelope opening will be because you will be putting extra pressure on these points when stuffing the pillow sham with a pillow.  
8.  Trim the corners so that when you turn you will have nice and pretty corners
9.  Turn right sides out and stuff with pillow and Enjoy!

If you want to watch how I finish the edges of my pillows check out this youtube video on a Christmas Ornament Pillow (seen in a couple of the pictures)
Free Motion Applique Gnome Pillow Tutorial


Gnome and Ornament FMA Pillow Shams


If you enjoyed this video and tutorial, make sure to share it on Facebook and Pinterest!
How to Sew a Gnome Pillow Envelope Pillow Sham

Also, make sure to join the Facebook Group to share your pictures and to ask any questions that you have!
Image HTML map generator

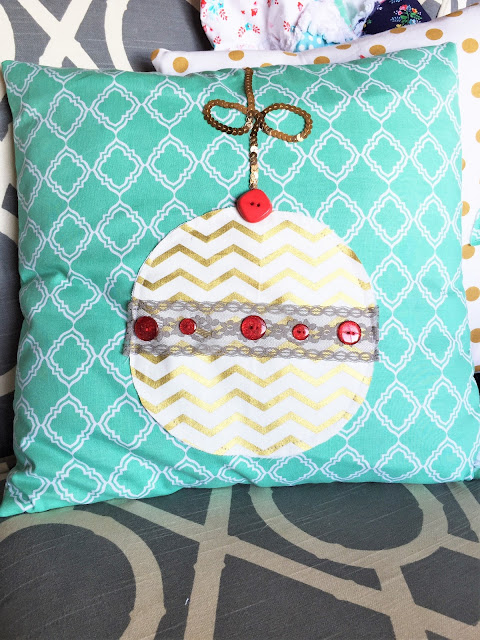
Christmas Ornament Envelope Pillow Tutorial

Image HTML map generatorJust like usual, I complete a project ahead of schedule, but then for some reason life gets in the way, and I don't get it blogged for awhile.


Christmas Ornament Envelope Pillow Tutorial

I videoed while sewing the pillow.  The Youtube video is below for you to follow along with it.  I made the video play at double time because sewing can sometimes be slow and tedious, but you still get the idea.  So its a quick video because I know you don't have time to sit and watch sewing videos all day.  Otherwise you won't get one of these cute pillows done (if you are like me at all ;)!
Free Motion Applique Ornament Pillow Sham

Cutting out the pillow:
1. Cut out 1 piece of fabric measuring 17" wide by the width of fabric.
2.  Cut that piece of fabric into 3 pieces.  They will measure 17" square, and then two 12" by 17" pieces.  The 12" pieces will be for you back envelope
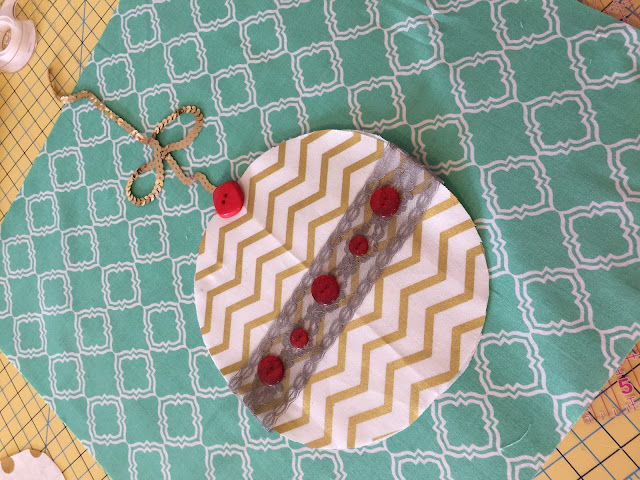
3. Cut out a large circle measuring 13" diameter
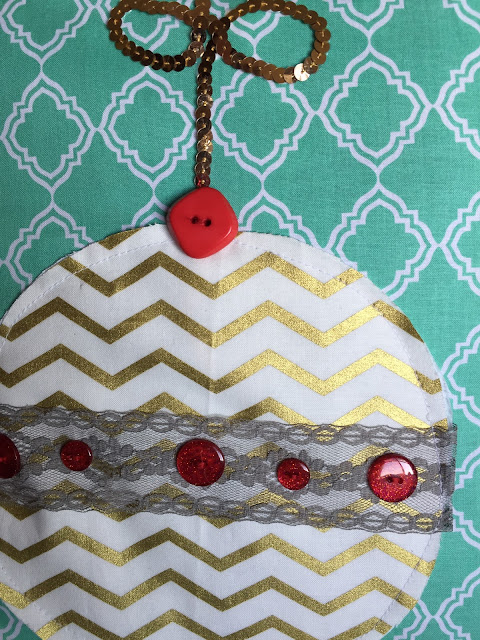
4. For the hanging bow I used 12" of sequin trim
5. For the lace center trim I used a piece 14" long
6. Gather Buttons or other items for embellishments

FMA and FMQ on a Pillow for Christmas

Assembling your Ornament Christmas Pillow Sham
1. Using fabric glue, glue the sequin trim to your pillow
2. Place the circle in the center of the large square and then decide on how to place your other embellishments
3. Follow along with the video to complete your pillow
OR
4. Top stitch all embellishments and the ornament onto the pillow
5. Finish the edge of the fabric using your favorite method on both of the 12" pieces for the back of your pillow (I used the sew, then roll method)
6. Place both of the 12" pieces on the back of the pillow, making sure to line up the corners of the front of the pillow with the back of the pillow.  Pin in place.
7.  Sew around the pillow sham using a 3/8 Seam allowance.  Make sure to backstitch over the places where the envelope opening will be because you will be putting extra pressure on these points when stuffing the pillow sham with a pillow.  
8.  Trim the corners so that when you turn you will have nice and pretty corners
9.  Turn right sides out and stuff with pillow and Enjoy!

How I made a Christmas Pillow the Easy Way


If you enjoyed this video and tutorial, make sure to share it on Facebook and Pinterest!

How to Sew a Christmas Ornament Envelop Pillow Sham using Free Motion Applique by A Vision to Remember


Also, make sure to join the Facebook Group to share your pictures and to ask any questions that you have!

Subscribe

Enter your email address:

Delivered by FeedBurner

Let's Get Social

Image HTML map generator


Featured Post

How to Memorize The Living Christ - Simple and Easy