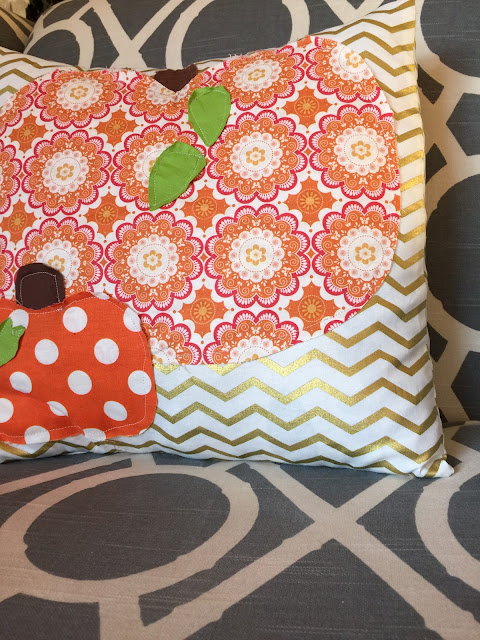
This pillow took me 20 minutes flat. I free hand cut out all of the applique pieces. Simple. Imperfect. Its how I roll. Thankfully FMQ and Raw Edge Applique are in so I am soooo In Style without even trying. JK. But I have noticed that this style is coming in....hard. And I love it. Its what I've done for several years, so I can't be happier!
Get Ready to Make your Pumpkin Pillow:
Print off your pattern pieces for the PumpkinsCut out the pillow pieces. I used a pillow measuring 16" square so I cut my front square 16.5" and my back 2 pieces for the envelope 8" and 12". This will use 1/2 yard
For the pumpkin pieces using scrap pieces you have lying around begging to be used will be great, or some fat quarters will work too.
Pumpkin Pillow How To Video on You Tube!
This is my first video on Youtube. It is sooooo scary to do this. I would love to have your support and watch it. Plus, you might learn something new!
If you don't have time to watch the video (but I highly advise it ;) here are the basics to the
How to Sew a Throw Pillow Assembly Part
1. Place the pattern pieces where you want them2. raw edge applique around each piece. You can do a bit of Free Motion Quilting on the pumpkins as well to give them some dimension
3. finish 1 edge of each of your envelope pieces
4. Place the envelope pieces on your pumpkin piece and sew together.
5. Turn right sides out and stuff your pillow in!
Done!!

See....Super Simple. Thats what I like!


.png)
No comments:
Post a Comment
I love hearing from you! Let me know what you think