The Best Strip Quilt Patterns on the Web

Am I the only one that is in a constant need for a quick gift?  Strip quilts seem to be a quick way to to make a beautiful quilt.  Here are a few strip quilt patterns that inspire me!

the best strip quilt patterns on the web


Free Patterns:

ruffled strip quilt
Ruffle Strip Quilt on the Ribbon Retreat

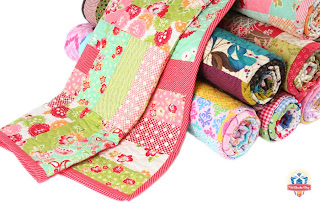
Jelly Roll Jam Quilt Pattern
Jelly Roll Jam Quilt Pattern on Moda Cutting Table Blog

skinny strips quilt
Skinny Strips Quilt with All People Quilt

strip rag quilt pattern
Strip Rag Quilt Pattern

strip quilt tutorial
Strip Quilt Tutorial by FITF

strip and flip quilt tutorial
Strip and Flip Quilt Tutorial on Cluck Cluck Sew

braided stripe quilt
Braided Stripe Quilt by Anne and Will

strip tubing quilt
Strip Tubing Quilt Pattern by A Joyful Soul Fabrics

baby showers quilt pattern
Baby Showers Quilt Pattern on Moda Bake Shop

simpel strip quilt block
Simple Strip Quilt Block by Imagine Fabric

Strip Piecing by Diary of a Quilter

Patterns Available for Purchase:

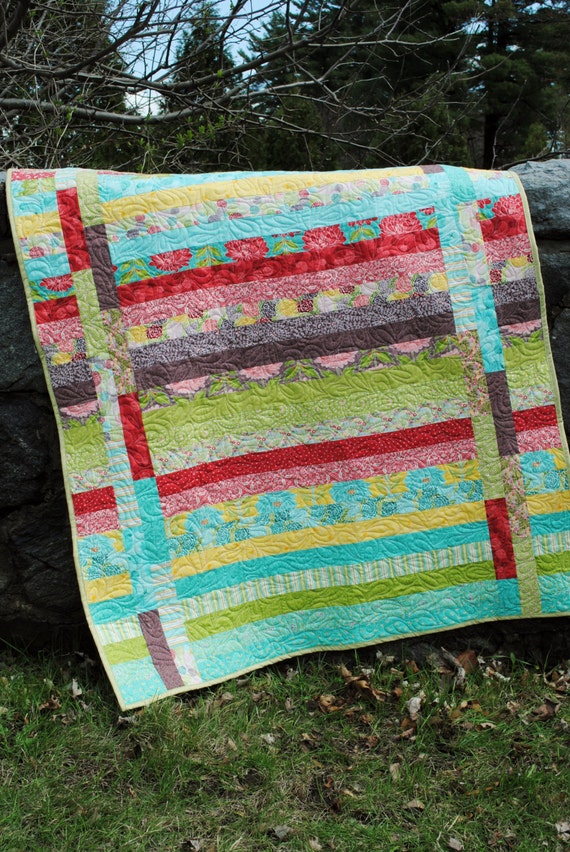
Quick and Easy Jelly Roll Pattern

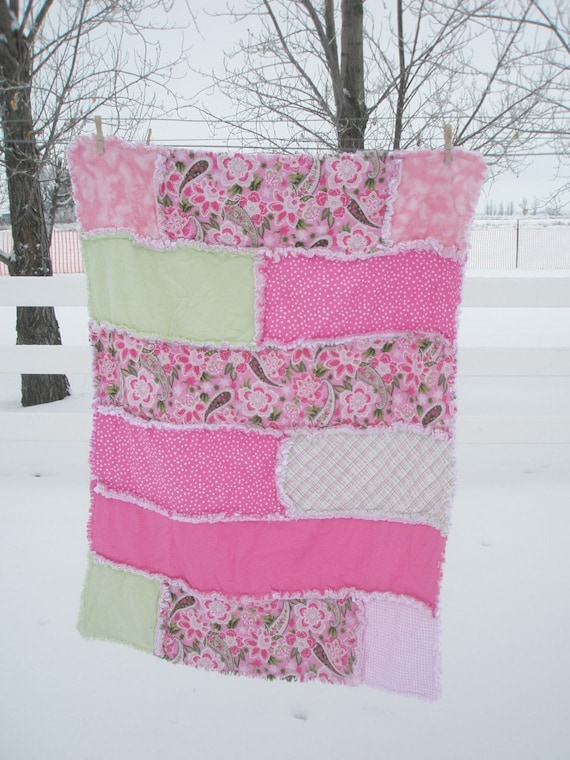
Shabby Strip Rag Quilt Pattern


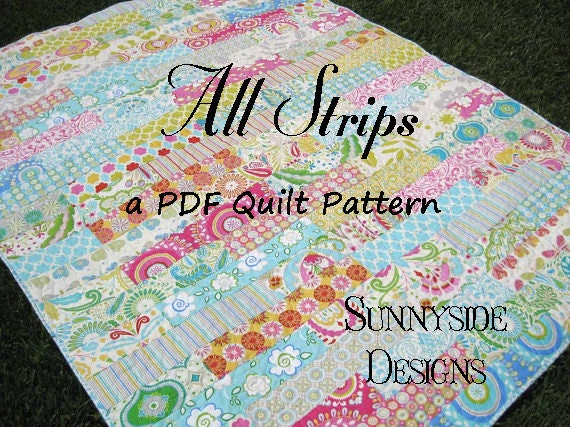
All Strips Quilt Pattern


For more Quilt Pattern inspiration please visit my Quilt Layouts, Patterns, and Designs Pinterest Board:


Follow Bobbie A Vision to Remember's board Quilt Layouts, Patterns, and Designs on Pinterest.


Clock Wall Done thanks to Modern Masters Paint

Disclosure: This post is sponsored by Modern Masters. I received a free sample of the product for the purpose of this review. All opinions are my own.


Finally got the clock hung up with the cabinet door that I made last month. Loving the color added to my blah beige living room. Next up: curtains and reupholstering a chair. Hopefully I can get it done before baby comes!

Its been awhile ago, but this summer I build this clock completely from scratch.  If you would like to see how it was done you can go to HERE.    Same thing with the Cabinet Door Makeover and the Super Simple Monogram Wreath

When I first posted about the clock I promised that I would go into a little more detail about how the painting all worked.  There were several layers that I did to get the stenciled, weathered look.  So here is a quick rundown:


After I had cut the board I primed it, with some primer that I had.  The iron paint that I used from Modern Masters is spendy and  I didn't want to waste any of it with it soaking into the wood from not being primed.

 After the first coat of primer had all dried then I started with the primer that comes in the kit from Modern Masters.  The paint kit that I used is the Iron Metal Paint.  The primer that comes with it is a burnt orange color, which worked perfect for me because my color scheme is burnt orange and gray in my living room.  I did 2 coats of the primer

Next I used a stencil and the Iron Reactive Paint and sponged it on.  I didn't want to roll it on because I wanted to see more of the orange coming through.  I did 2 coats of this as well.


Lastly I used the iron activator and sponged it on as well. This is the stuff that will do all the chemistry jazz and make your paint job look like it is Iron.  So keep in mind the more of it you use, the more it will eat up your paint to make it look like iron.  If you don't use very much then not much will get eaten up.  I hope that makes sense.

I applied the activator liquid 3 different times.  Each time sponging on a little bit at a time, and then waiting for an hour or so, until I saw the effect.  Then I would apply it again, a little heavier in spots, and thinner in other spots, until I got the look I was going for. 

How to build a large clock for cheap

Ok so if you want more information on how I cut and did all the other stuff you can go HERE

If you notice in the graphic above there are several different colors.  The gray is where I didn't put hardly any (if any at all) of the activator.  The darker orange has a little more, and then the light orange (not including the stenciled part) is where a lot of the liquid activator was.  It gives you a nice natural look as long as you don't sponge the stuff on in lines or patterns.  You want an organic look with it, so make sure to not apply it in lines or patterns. 

I hope that helps you when you are using the iron paint.  Let me know if you have any questions and I will do my best to answer them!

To find your local Modern Masters retailer, you can use their Retail Locator or their Online Shop

New Ruffle Flower Rag Quilt in Turquoise and PInk in Multiple Sizes PLUS Pillow Shams

Disclosure: This post is sponsored by Smartsilk. I received a free sample of the product for the purpose of this review. All opinions are my own. 

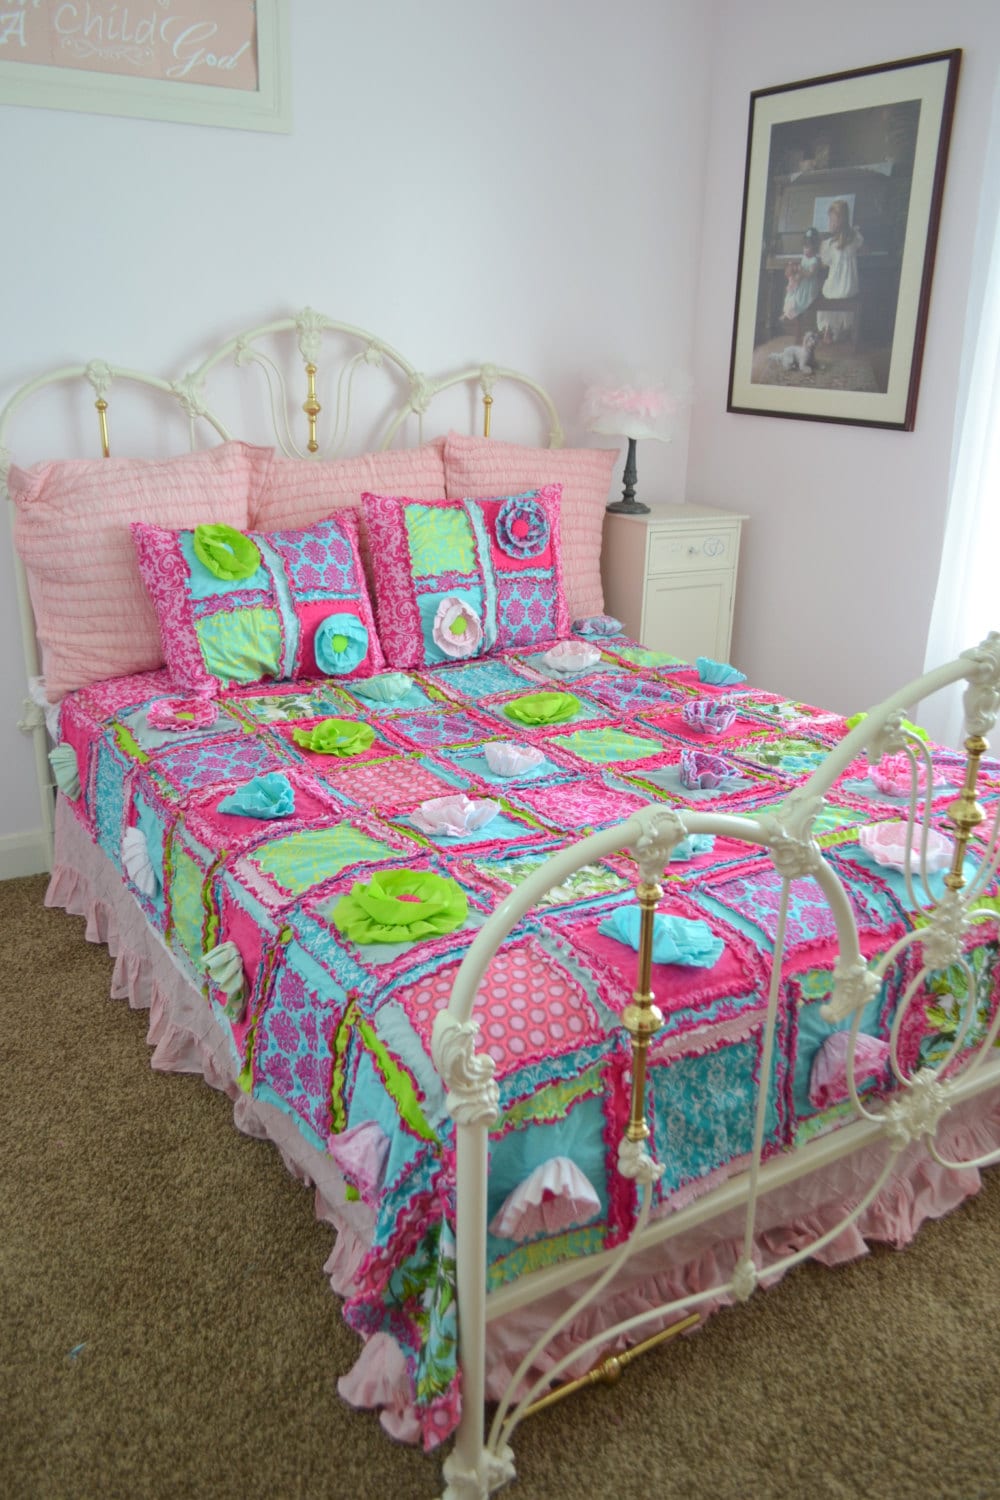
I had a customer request a modification to one of my most popular quilt designs. She wanted a full size ruffle flower rag quilt with 2 pillow shams. I was beyond excited to make this set for her. It has been a quilt that I have been wanting to make into a larger version, but without having a customer wanting it, it never got done.

I am so glad that I finally was able to make one. I absolutely love how it turned out.

New Ruffle Flower Rag Quilt in Turquoise and PInk in Multiple Sizes PLUS Pillow Shams

Don't mind that the quilt looks a little small on the bed.  I don't have a full size bed at my disposal so the next best thing was my daughters queen size bed.

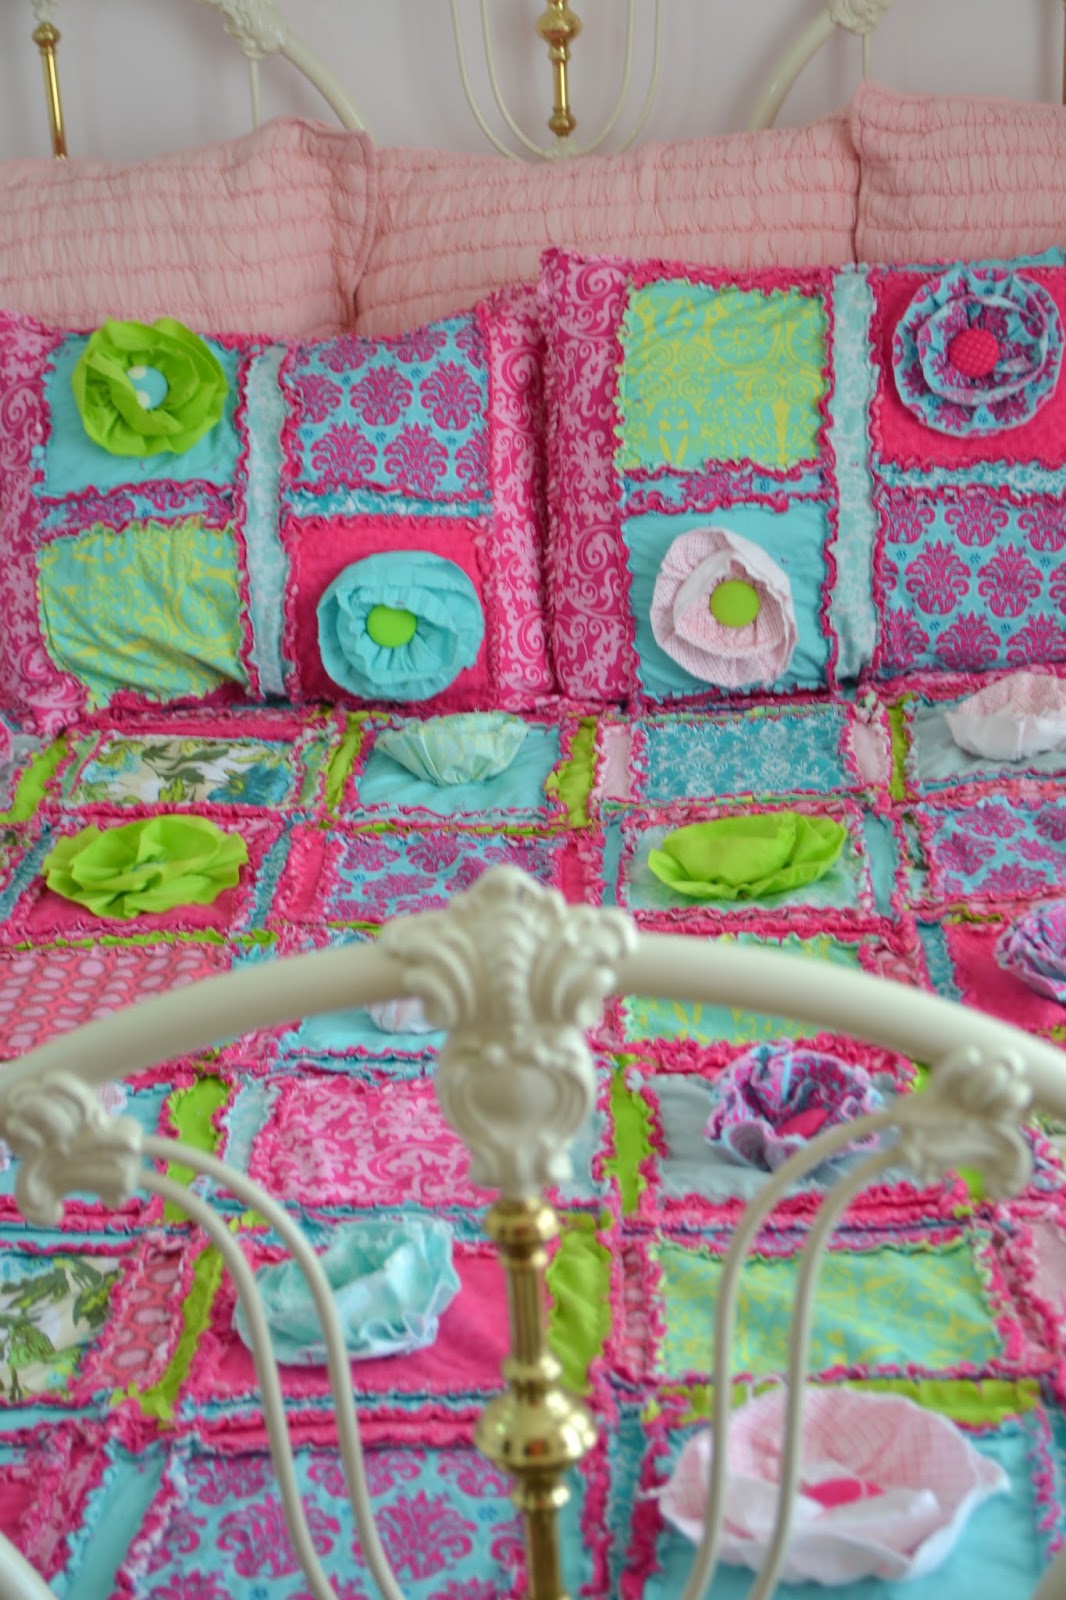
Ruffle Pillow Shams in Hot Pink, Turquoise, and Pink
 I love how the pillows turned out!  They seriously are adorable. 
Girl Pillow Shams in Turquoise, Hot Pink, and Lime Green
 For the insert of the pillow sham I used a Smartsilk pillow.  I love how fluffy this pillow is.  It seriously reminds me of a down pillow. Plus, its divine to sleep on!
Queen Size Bedding for Girl
 Seriously, can't get over the cuteness!
Ruffle Flower Queen Size Bed Set for Little Girl
 To find the quilt to purchase you can go HERE
Starndard Size Pillow Sham-Rag Quilt
 To find the pillow sham HERE
For more information on the pillow form that I used please check out their twitter page or facebook page


Dry Erase Binders and Tablets for Back to School and Teacher Appreciation Gifts

Disclosure: This post is sponsored by Wallternatives. I received a free sample of the product for the purpose of this review. All opinions are my own.


I think we might just be the last people in the US of A to go back to school.  My girls just barely started yesterday.

Now, let me start out by saying that I am cheap.  My friends make fun of me, my husband makes fun of me, my kids complain All.  The.  Time. that I am cheap. 

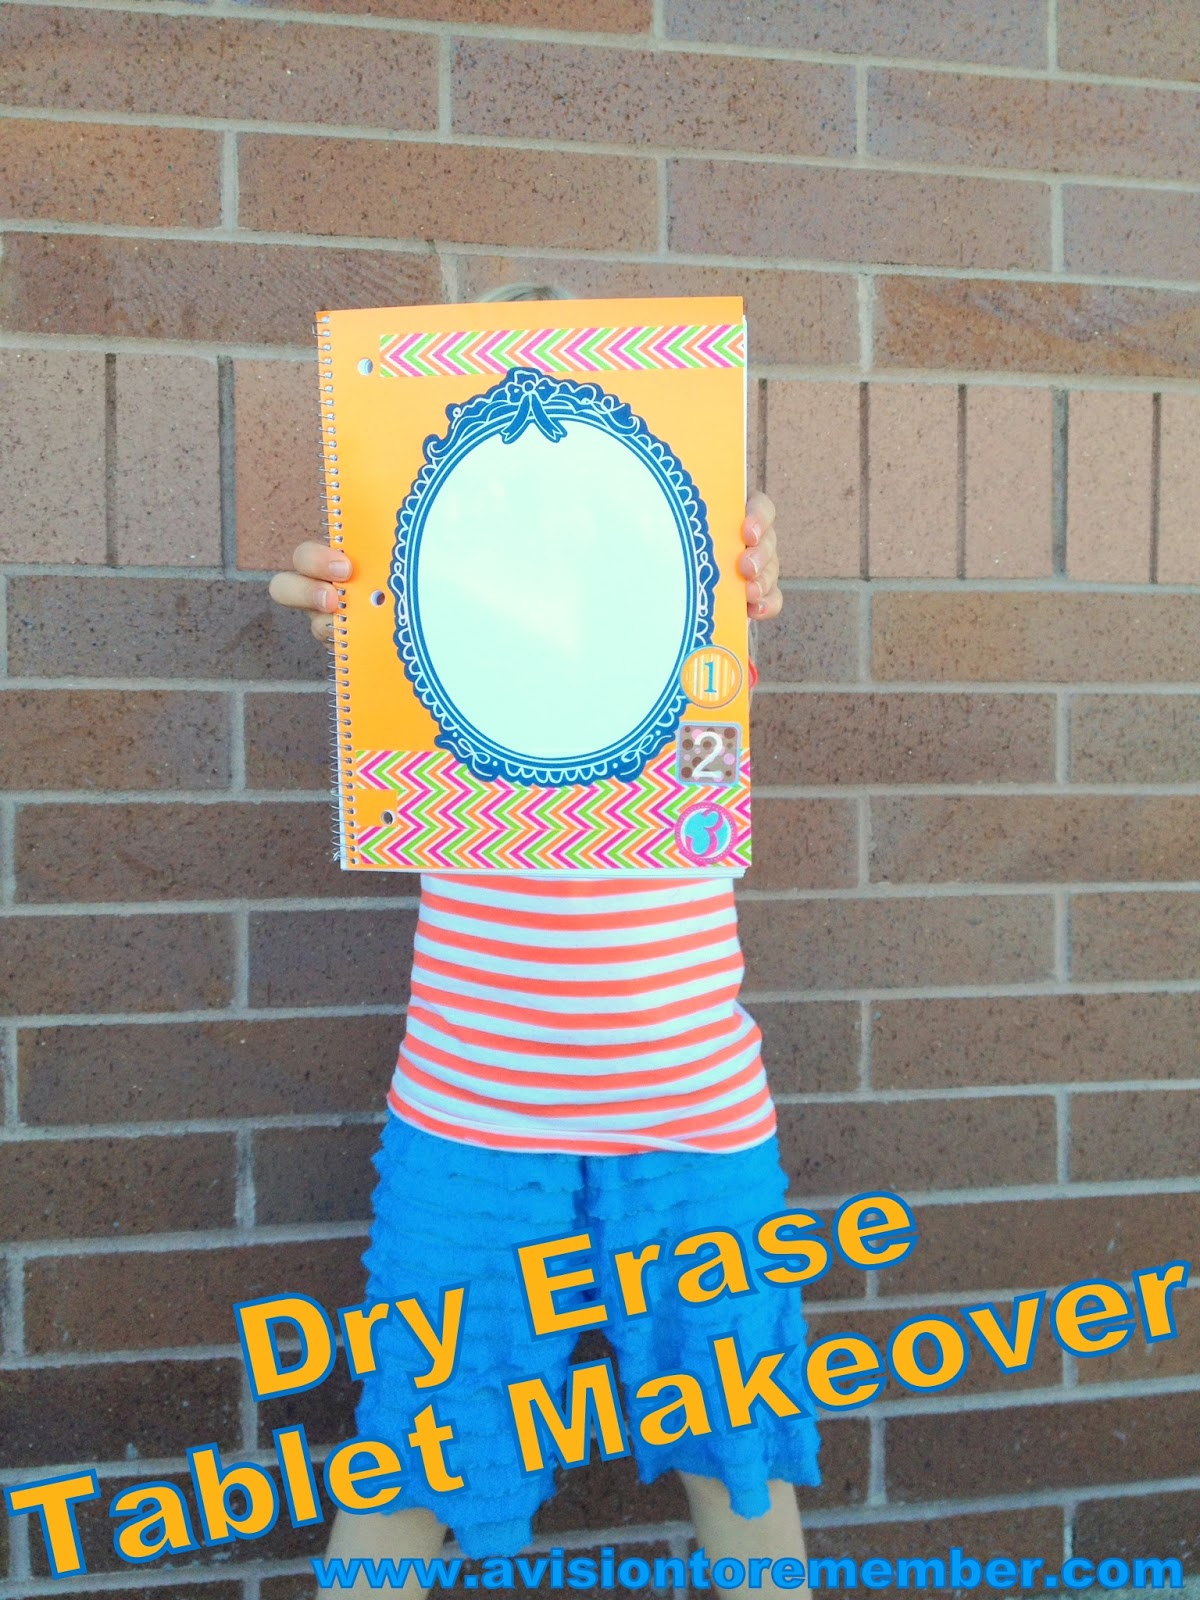
But this time I think it worked to their advantage when we took some cheap (17 cents +Staples ) tablets and binders and gave them a little facelift with a couple of simple vinyl pieces

dry erase notebook for back to school


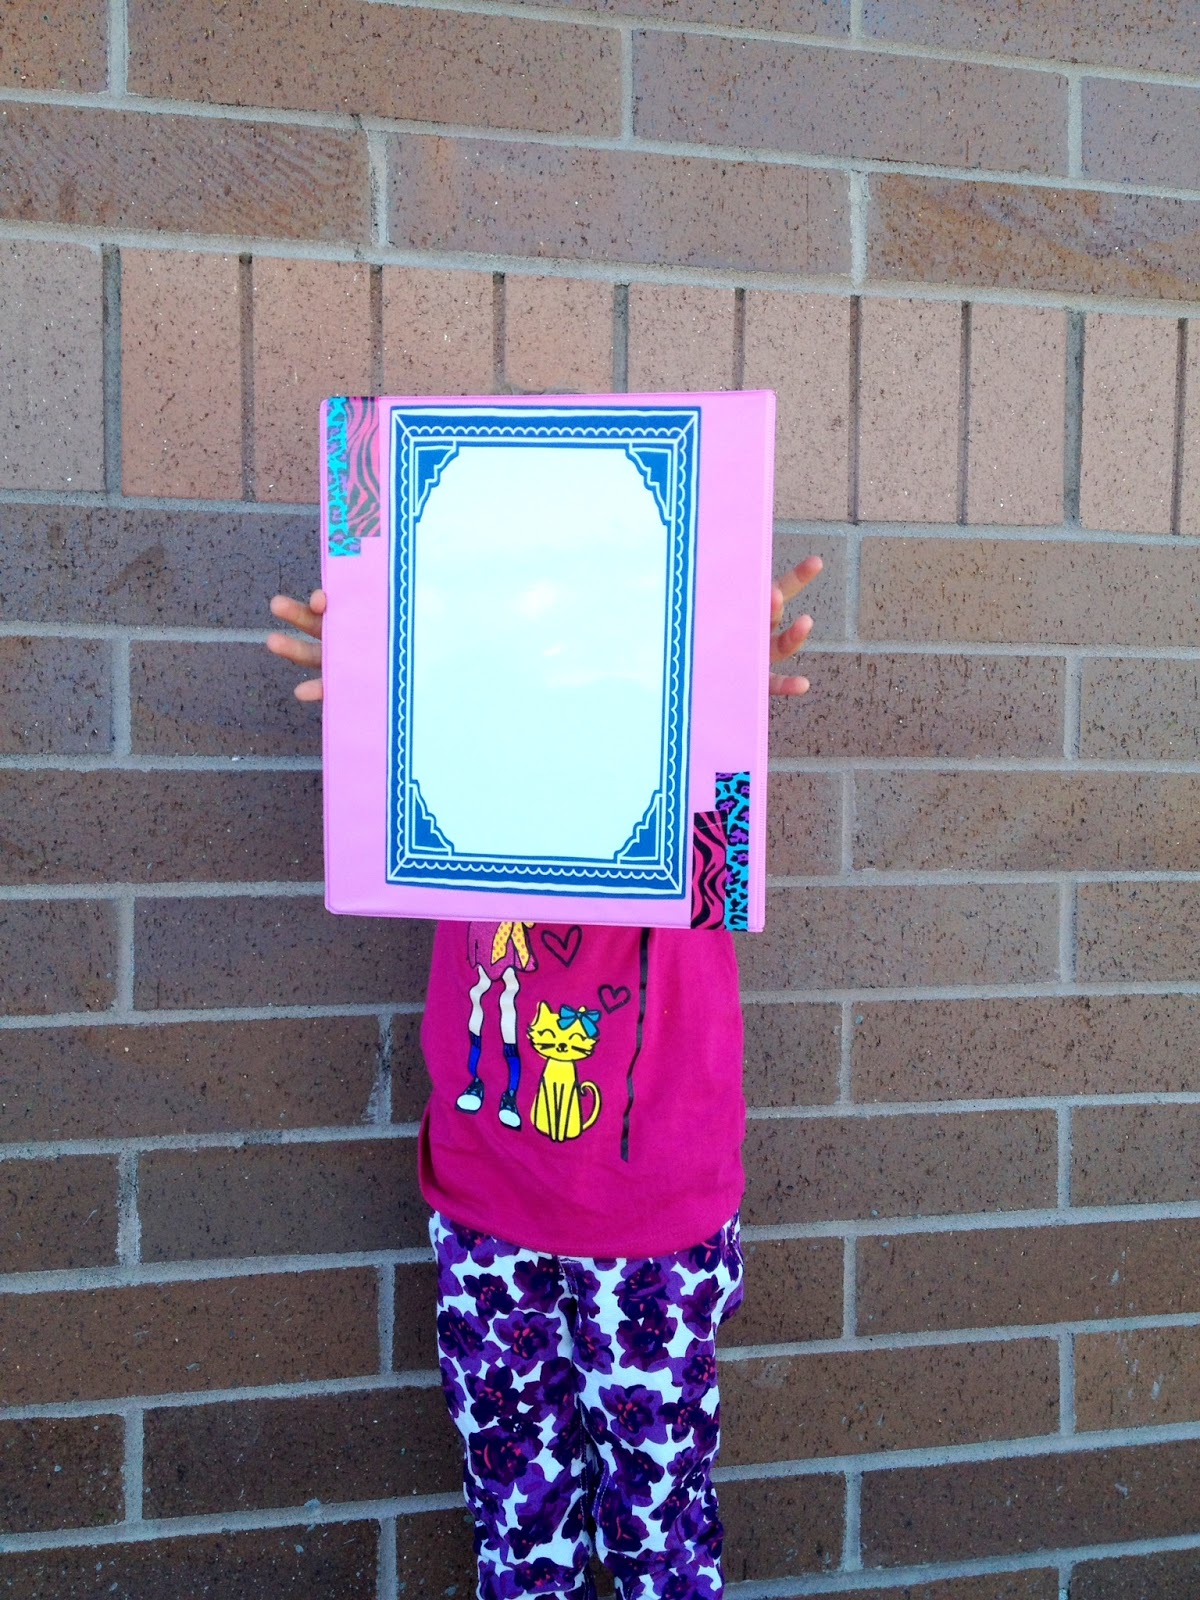
The first one here is my kindergarteners binder.  I took a +Wallternatives Blue frame, a piece of dry erase vinyl, and some thin +Duck Brand Tape

A little side note about the Wallternatives Blue Photo Frame Fabric Decal Set..  They come in a set of 6 so I went through and picked which of the frames would fit the binder and the tablet the best.  There are smaller ones and larger ones.  If I remember right the rectangle one on the binder is the largest of all the frames. 


First I measured what size the frame was and cut the dry erase vinyl about a 1/2 inch bigger.  Then I placed the dry erase first on the binder and then the frame.  Then a little accent with the Duck Tape and my kindergartener was one very happy little girl!

dry erase binder for back to school
 For my 3rd Graders table we basically did the same thing, but we added a couple stickers to the mix as well. 
dry erase notebook for teachers gifts

I am so glad that my girls enjoyed putting these together.  They were so excited to be able to have a something that NO ONE ELSE would have in the entire school.

So, in the end 2 happy girls = 1 very happy mom!

Oh and if you are looking for some really cute vinyl, removable wallpaper, and super cute chalkboard decals head on over to Wallternatives.  Seriously, they have the cutest stuff!

Subscribe

Enter your email address:

Delivered by FeedBurner

Let's Get Social

Image HTML map generator


Featured Post

How to Memorize The Living Christ - Simple and Easy