My 4 year old daughter begged my husband and I, to let her make SOMETHING. I finally relented and gave her a cookbook with lots of pictures in it to entertain her while we finished getting dinner ready. After telling her for the upteenth time that we didn't have the right ingredients for whatever she was wanting to do, she settled on making pudding.
Of course, she had no idea that we weren't making the REAL kind of pudding. It was the good ol' J-E-L-L-O kind. But she was happy anyways.
She felt so very accomplished, that she could pour the milk into the bowl with the powder. Then stir til her heart was content (then let mom stir til it was really done).
I would say Disaster Averted with our Drama Queen. It was a "Say Yes" kinda day, but with a little diversion too.
I got the cute little paper cups from Wholeport.
Plus the littlest one was happy:
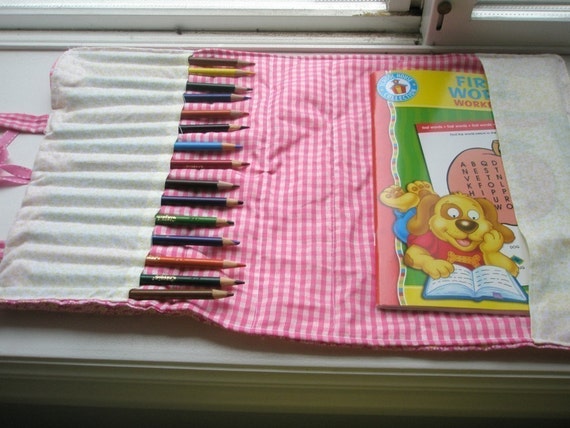
Pencil and Notebook Case for Child Sewing
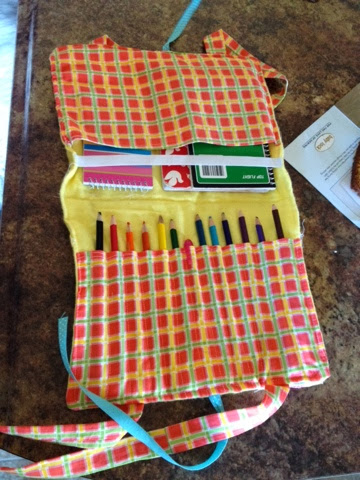
I just adore this pattern of the Pencil and Notebook Case. It was one of the first ones that I had ever written. It is the perfect pattern for a child to learn to sew with a little supervision.
My daughter found my pencil and notebook case pattern that I wrote a couple years ago. She immediately wanted me to teach her how to make it.
You can purchase the download version HERE or the shipped version HERE
Instead I told her to read the pattern, and let me know where she wanted/needed help.
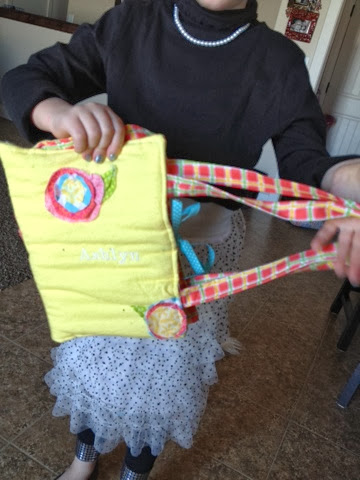
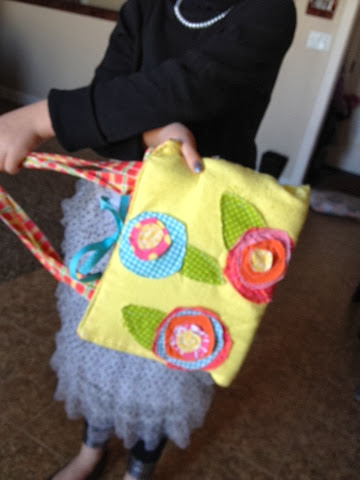
This is the finished product. I just purchased an embroidery machine and we embroidered her name on the front of it. She was able to sew all the appliqued flowers onto it, we even added a few more onto the back. She sewed most of it together. I only topstitched around the outside, and did the pencil spaces.
To say that she is in love is an understatement. Sorry for the blurry pictures, this was right before church, and the lighting in our house was pitiful...
Fabrics can be found at:
Finish it 2014-Summer in the Park Quilt Pattern
My 2nd finish of 2014 from the UFO pile is a quilt that I sewed +Riley Blake fabric fest this fall. I finally quilted and bound it.
I love how it turned out and so does my almost 2 year old little girl. She has barely let it out of her sight since she ripped it from my hands when I finished it.
The fabric is from +Riley Blake Lost and Found fabric line from a couple years ago and the pattern is Summer in the Park Quilt Pattern from +MissouriQuiltCo
Best Place to Buy Rotary Cutter Blades
Do you ever get sick of paying $8 or more for 1 rotary blade? I know that I do.
Even with a coupon at the local craft stores rotary blades will cost you a $5 dollar bill.
Not anymore!
If you have a +Harbor Freight Tools (OFFICIAL) head on over there when you need new blades. They are in the carpet section of the store. They come in packs of 2 and are around $3.
I love saving money. Especially if you combine saving money on buying blades with sharpening your blades with tin foil. Its Money in the Bank!
Instagram Picture Display
I love instagram but I hate that all my fun pictures are stored on my phone and not where I can see them and remember all the good times I've had with my little family. So when my husband shortened all of our wood slat blinds and we ended up with a bunch of wooden slats I decided to create a way to display those pictures.
I cut 2 - 1x4 inch boards the length that I needed. Then nailed the wooden slats to the boards. I used picture hangers on each of the 1x4 boards to hang it onto the wall.
Then I took hemp string and tied it to the wooden slats. I printed my Instagram pictures directly from my phone at +Walgreens and hung them using mini clothespins.
I like to change out the pictures every couple of months to keep them updated. My girls love seeing the pictures and sharing them with people that come over.
Now I just need to figure out a word to place on one of the bottom corners in vinyl. Any ideas?
Subscribe to:
Posts (Atom)